

Sieve Analysis: How It Works & How to Choose Test Sieves
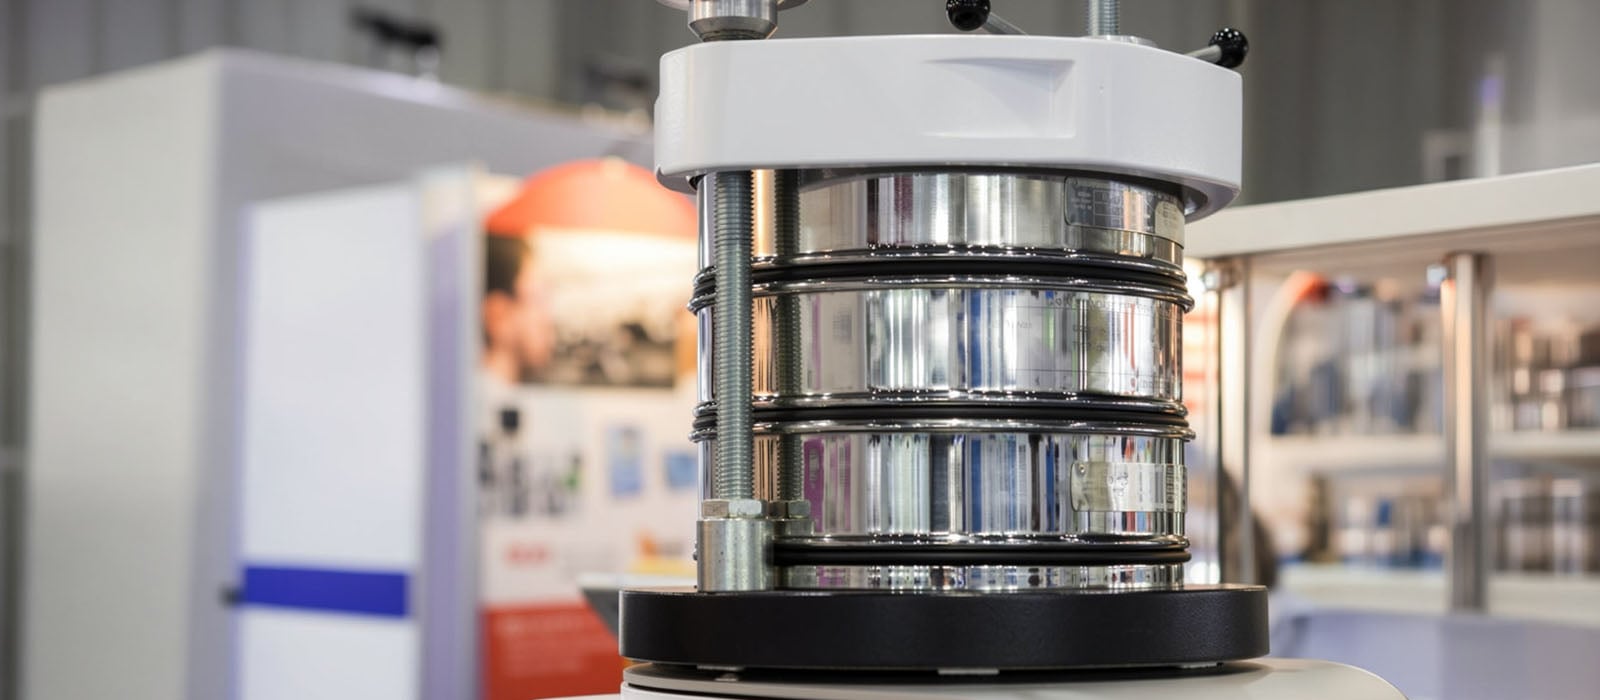
Learn how sieve analysis works, when to use dry or wet sieving, and how to choose test sieves and shakers that meet ASTM and ISO standards.
Sieve analysis is a test that sorts a granular sample by particle size. You pass a weighed sample through a stack of sieves with progressively smaller openings, weigh what stays on each one, and calculate the share of material in every size range. The result is a particle size distribution, also called a gradation.
Labs in construction, food, pharmaceuticals, chemicals, and mining use it because it is quick, cheap, and repeatable. But to get the most out of sieve analysis, it’s best to understand first how it works, how to decide between dry and wet sieving, and what to look for when buying sieves and sieve shakers.
What is Sieve Analysis Used For?
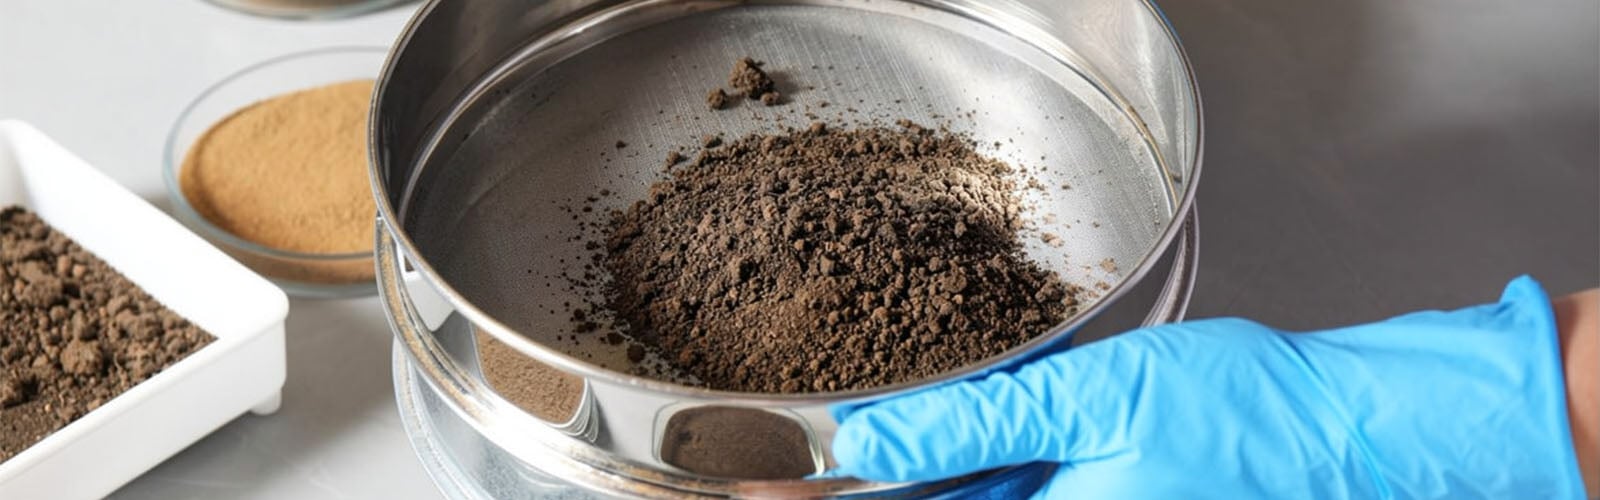
Sieve analysis tells you whether a material’s size makeup matches what a specification or process calls for. In aggregate testing, results are used to confirm that a particle-size distribution complies with specification requirements and to control the production of aggregate products and mixtures.
Common applications include:
-
Checking sand and gravel for concrete and asphalt
-
Classifying soils for geotechnical work
-
Confirming that a powder or granule lot meets a size specification before it ships
-
Monitoring a production process for drift
Different test methods cover different materials. ASTM C136 is applied to aggregate sources for concrete and asphalt, while ASTM D6913 covers soils.
Dry Sieve Analysis vs. Wet Sieve Analysis
Dry sieving is the default, and most people refer to it as sieving. You shake or vibrate the stack, giving each particle the opportunity to work its way through any opening it fits through. It's very effective with dry powders, granules, and clean sands.
On the other hand, wet sieving is for samples that have a lot of fine, sticky material. Clay and silt tend to bind the finer material into small clumps that behave as a single particle. A dry test would count those clumps as coarse material, and so the sample would appear coarser than it actually is. That matters for materials used in roads and structures, because the clumps will break down and the material will behave differently.
Which Sieve Analysis Should You Use?
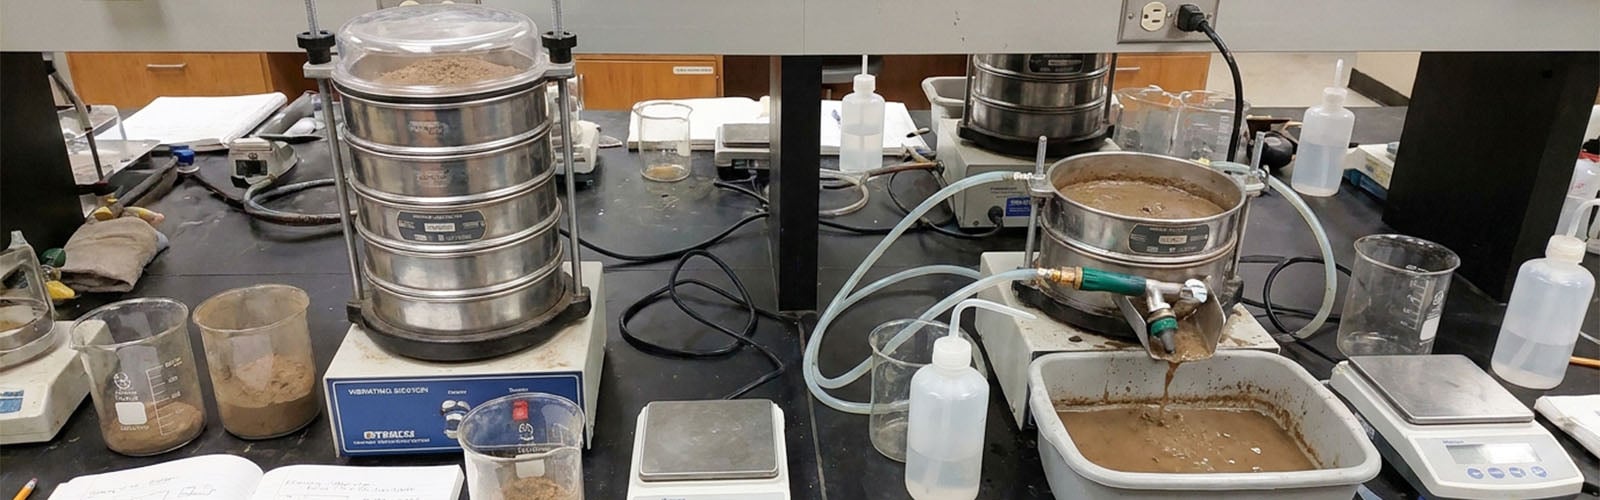
The decision is based on the sample. If it clumps, or you know it contains fines coating the larger grains, wash it. For aggregate, ASTM C136 handles this by running the wash procedure from ASTM C117 first, through its final drying step, and then dry sieving the same sample. The same standard also notes that material finer than the 75 µm sieve can’t be fully measured by C136 alone, so the washing method in C117 should be used.
Here’s a clear overview of the two methods:
| Dry Sieving | Wet Sieving | |
|---|---|---|
| Ideal For | Free-flowing, dry material | Samples with sticky fines |
| How Particles Separate | Shaking or vibration | Water washes fines through the mesh |
| Sample Requirement | Dry, non-clumping | Must not dissolve in water |
| Sieve Frame | Full or half height | Taller frame to hold sample and water |
| Extra Step | None | Dry sieves and retained material before weighing |
How to Run a Sieve Analysis
The exact procedure depends on the standard you follow, so check the current version of your method. The general sequence is the same everywhere.
-
Prepare the sample. Take a representative portion and reduce it to the required size with a splitter. Sample size depends on the material and on the largest particles in it.
-
Dry the sample if the method calls for it. For aggregate, C136 specifies drying to constant mass at 110°C ±5°C (230°F ±9°F). Keep any oven below the maximum for your material and sieve type.
-
Weigh the sample. Record the starting mass. Everything that follows is calculated from this number.
-
Build the stack. Put the sieves in order with the largest opening on top and the finest at the bottom, with a pan underneath to catch what passes through.
-
Load the sample and agitate. Pour the sample on the top sieve and shake for the specified time, either by hand or with a mechanical shaker. C136 lists a mechanical shaker as optional, provided it meets the standard’s adequacy-of-sieving requirements.
-
Avoid overloading. Too much material on one sieve blocks the openings and affects the result. Standards give a maximum retained mass for each sieve size. If a sieve is overloaded, split the sample into portions and sieve each one separately, or add intermediate sieves.
-
Weigh what each sieve retained. Brush the mesh clean without forcing grains through. Per C136, the residue on each sieve is weighed to 0.1% of the original dry mass.
-
Check your total. The sum of all fractions should land very close to the starting mass. If it doesn’t, find out why before you report anything.
-
Calculate. For each sieve, work out percent retained, cumulative percent retained, and percent passing:
-
To calculate the percent retained, divide the mass retained on a sieve by the total starting mass, then multiply by 100.
-
To get the cumulative percent retained, add the percent retained on that sieve and every coarser sieve.
-
To calculate the percent passing, subtract the cumulative percent retained from 100.
For example, a 500 g sample leaves 60 g on the 4.75 mm sieve. That is 12% retained. If nothing was held back on coarser sieves, 88% of the sample passes the 4.75 mm sieve.
Factors to Consider When Choosing Test Sieves
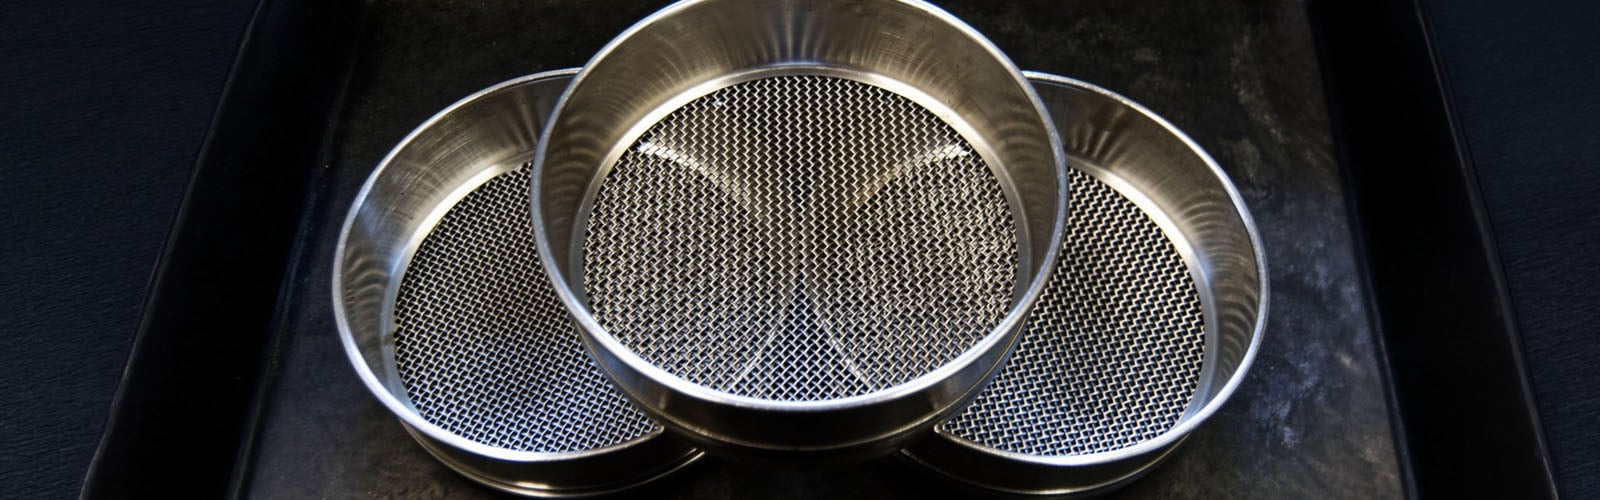
The right sieve depends on your sample, your test method, and the level of accuracy your lab needs to document. Going through the factors below before you buy helps you avoid paying for specifications you don’t need or ending up with sieves that don’t fit your standard.
Frame Diameter and Height
Common frame diameters range from 3" up to 18". The larger the frame, the more material it will hold, and the better it is for coarse samples because the heavier load will not clog a small sieve. Smaller frames are obviously better for small sample sizes. Half-height sieves are shorter, so you can fit more in one stack on the shaker, which helps when you're doing a test that requires many fractions.
Frame and Mesh Material
Although many assume brass is the better option, brass frames wear out much faster than stainless steel. Stainless steel sieves offer superior corrosion resistance and withstand repeated cleaning cycles and heavy use. If your lab washes its sieves regularly or works with damp or mildly corrosive samples, then a stainless steel mesh is even more important.
Opening Size and Standards
Opening sizes follow either ASTM or ISO conventions, and your test method determines which one you need. For ASTM work, the sieve sizes are governed by ASTM E11. It covers sieve cloth and test sieve construction for openings from 125 mm down to 20 µm.
The ISO counterpart is ISO 3310. It is split into parts by sieve type: Part 1 covers metal wire cloth, Part 2 covers perforated metal plate, and Part 3 covers electroformed sheets. ISO 3310-1:2016 specifies the technical requirements and test methods for wire cloth test sieves with aperture sizes from 125 mm down to 20 µm, in accordance with ISO 565. That is the same range ASTM E11 covers, but these two standards are not interchangeable.
Certification Level
ASTM E11 recognizes three levels: compliance (66% confidence), inspection (99%), and calibration (99.73%). Calibration sieves have at least twice as many openings measured as inspection sieves. A higher level is justified in terms of cost if your customers or auditors require documented accuracy or if you need the results to be consistent between labs.
Sieve Shaker
A mechanical sieve shaker, such as the RO-TAP® Test Sieve Shaker from Haver & Boecker, removes the variation that comes with hand shaking. Look at the number of sieves it can hold, the diameters it accepts, whether time and amplitude are adjustable, and whether it handles both the dry method and your wet accessories.
Standards define the end of sieving by how much material still passes through, not by a fixed number of minutes so manual shaking times will vary. A shaker with a timer and adjustable settings will give you a repeatable process, and repeatable processes give you results you can trust.
Good sieve analysis is all about matching the method to your material, then having the correct test sieves and shaker to meet your standard. The Lab Depot carries test sieves in a range of diameters, frame heights, and materials, along with sieve shakers and accessories for wet and dry sieve analysis. For assistance, contact our expert team at 1-800-733-2522, email, or through live chat on our website.
Sources:
https://blog-oh.haverboecker.com/particle-analysis/wet-dry-sieve-analysis
https://engineersviews.com/blog/sieve-analysis/
https://forneyonline.com/simple-guide-astm-c136/
https://infinitalab.com/blog/sieve-analysis-importance-industries/
https://www.globalgilson.com/blog/sieve-analysis-coarse-aggregate