Methods for Cleaning Laboratory Glassware
Good laboratory techniques demand clean glassware. They must always be physically, chemically, sterile, and especially grease-free. Otherwise, even the most carefully executed task may give an erroneous result if dirty glassware is used.
To achieve this, strict cleaning protocols tailored to the specific type of glassware and the substances used in it are essential. This article provides a general guideline for cleaning to ensure the best possible results for your glassware.
The Importance of Contaminate-Free Glassware
A critical indicator of clean glassware is its ability to be uniformly wetted by distilled water. If the glass surface wets evenly, it’s free of contaminants.
Grease, oils, and other residues interfere with this process, preventing uniform wetting. These contaminants can affect the accuracy of measurements by altering the volume of liquid adhering to the walls of the glassware, leading to errors in the amount of liquid measured or delivered.
Even small amounts of impurities or grease can distort the meniscus in pipets and burets, making precise volume adjustments difficult. For these reasons, maintaining contaminant-free glassware is essential for ensuring accurate and reliable laboratory results. Regular cleaning and proper handling are crucial steps in minimizing measurement errors and safeguarding the integrity of experiments.
Safety Considerations
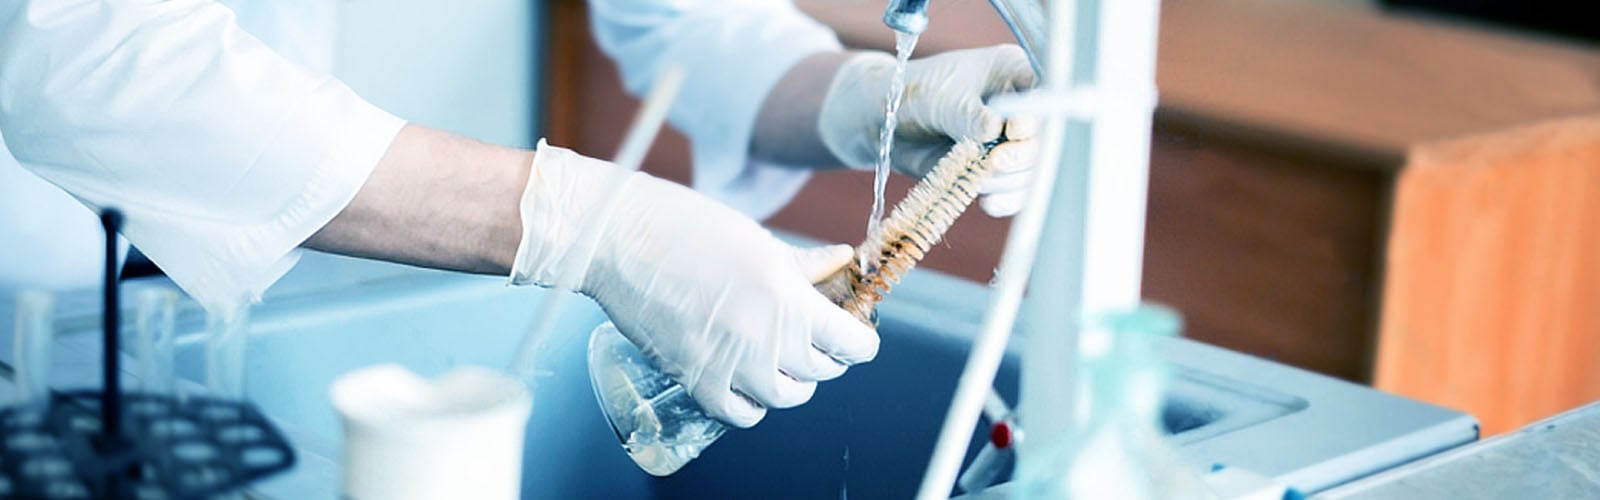
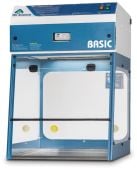
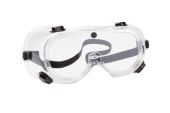
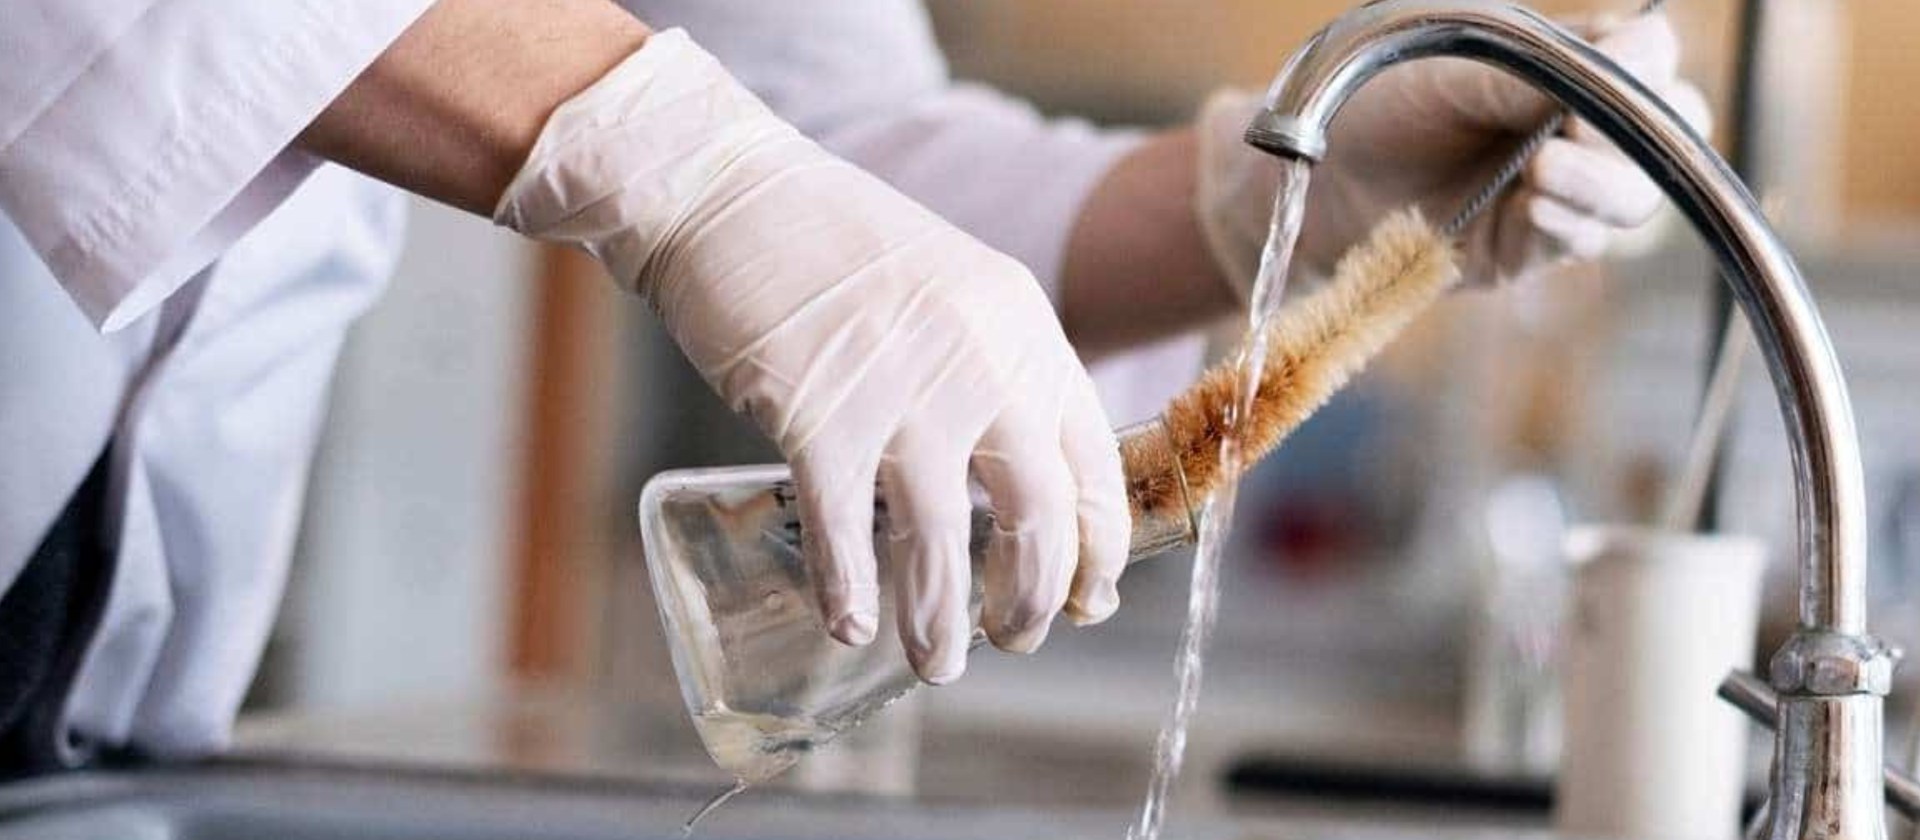
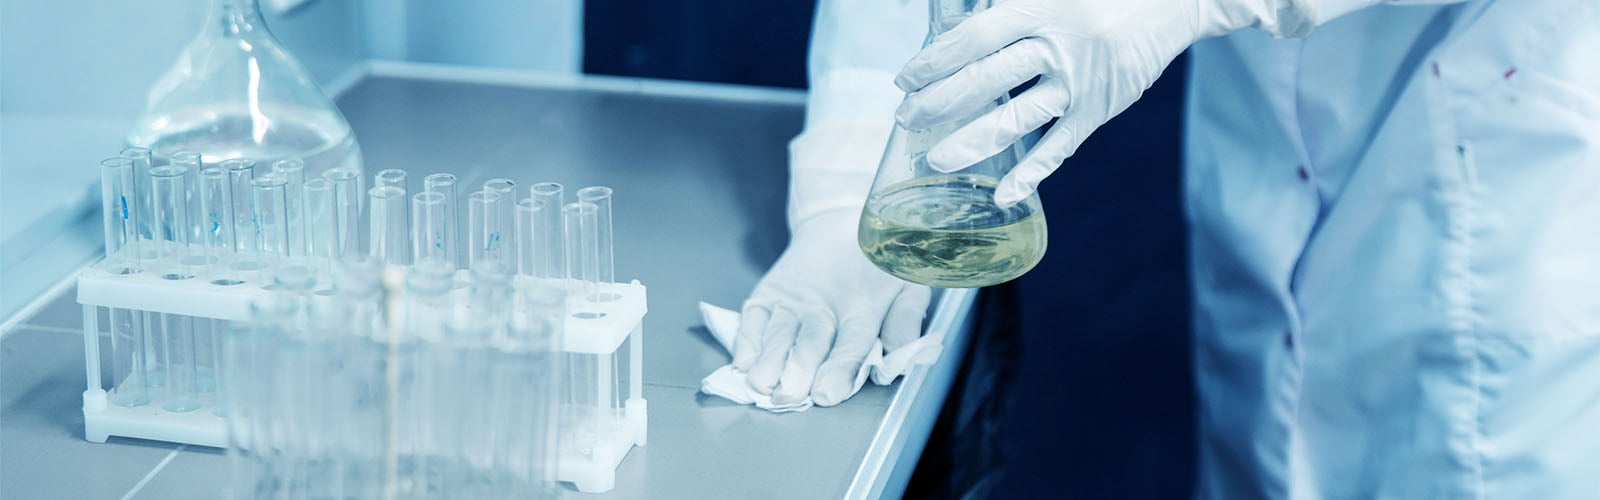
Before cleaning, appropriate PPE, including eye protection and heavy-duty slip-resistant, chemically resistant gloves, should be used when washing glassware. Depending on the detergents, cleaning solutions, and chemicals previously used in the glassware, an apron and fume hood may also be required to prevent harm to the user.
If any cleaning solution comes in contact with the skin, always wash the exposed area with repeated water rinses to avoid burns. Always read the Material Safety Data Sheets for the cleaning solutions being employed.
General Cleaning Guidelines
Immediate Soaking:
After use, soak them immediately to prevent residue from hardening. If immediate cleaning isn’t possible, disassemble the glassware and submerge it in water. This is particularly important for pieces with ground glass stopcocks and stoppers.
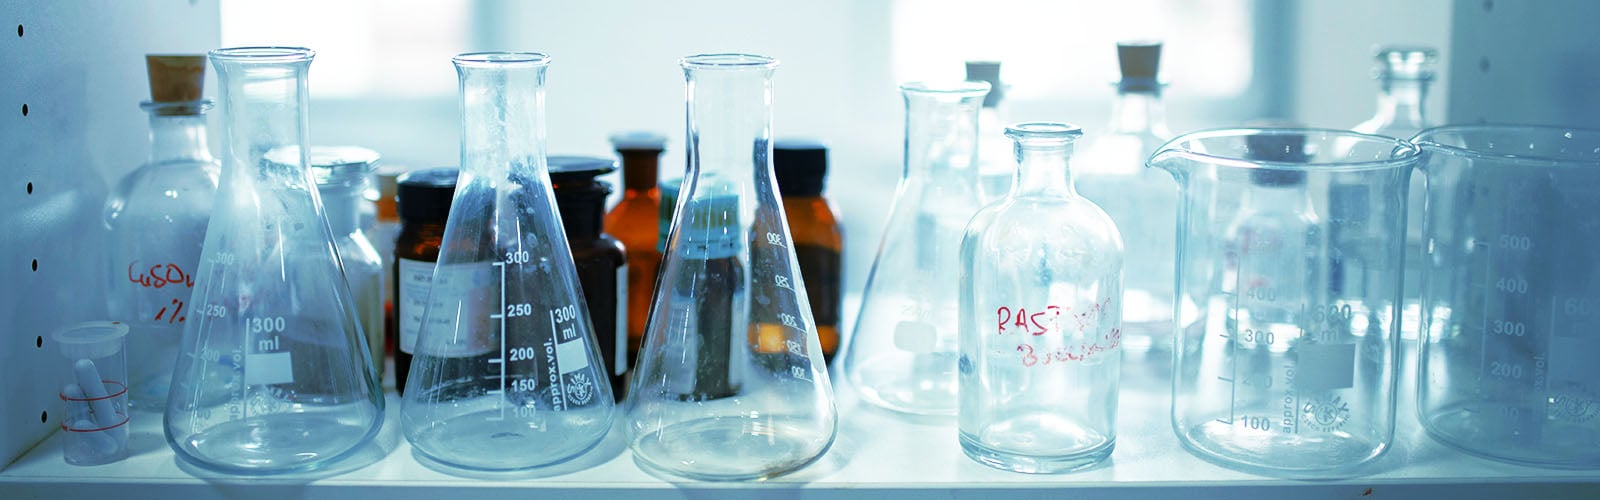
Proper Cleaning Solutions:
Laboratory glassware manufacturers, such as Corning, the manufacturer of PYREX®, may recommend various cleaning solutions, including biodegradable phosphate-free and chromium-free formulations. Instructions for using these solutions should be read and closely followed.
Abrasive materials should be avoided when wiping down or cleaning laboratory glassware, as they will damage the surface.
Avoid Overloading:
To minimize the risk of breakage, avoid overcrowding sinks, dishwashers, or soaking bins. Rubber mats in sinks and on countertops can also help reduce accidents and injuries.
Special Care for New Glassware:
New glassware, which tends to be slightly alkaline, should be soaked for several hours in a 1% hydrochloric or nitric acid solution before washing. This is especially important when using glassware for precision chemical testing.
Rinsing:
After cleaning, a thorough water rinse should follow until all traces of unwanted materials—including the solvent—are removed. Distilled water should be used for the final rinse if calibration is required. Graduated Laboratory Glassware marked “to contain” should be dried using acetone or ethyl alcohol. Clean air blown into the vessel—in a fume hood—will hasten the drying process.
Autoclaving:
Autoclaving and sterilization may be necessary for some applications. When cleaning with an autoclave, the instructions supplied with the instrument should be closely followed. Read our article Safely Autoclaving PYREX® Laboratory Glassware to learn more about autoclaving glassware.
Specific Glassware Cleaning Guidelines
The following are instructions for pipets, burets, culture tubes, slides, and cover glasses.
Pipets
Place pipets, tips down, in a cylinder or tall jar of water immediately after use. Refrain from dropping them into the jar since this may break or chip the tips and render the pipets useless for accurate measurements.
A pad of cotton or glass wool at the bottom of the jar will help prevent the tips from breaking. Ensure the water level is enough to immerse each pipet's greater portion.
At a convenient time, the pipets may be drained and placed in a cylinder or jar of dissolved detergent or, if exceptionally dirty, in a jar of chromic acid cleaning solution. After soaking for several hours or overnight, drain the pipets and run tap water over and through them until all traces of dirt are removed. Soak the pipets in distilled water for at least 1 hour. Remove from the distilled water, rinse, dry the outside with a cloth, shake the water out, and dry.
An automatic pipet washer is convenient in laboratories where many pipets are used daily. Some of these elaborate pieces of equipment are made of metal. They can be connected directly by permanent fixtures to the hot and cold water supplies.
Others, such as those made with polyethylene, are less elaborate and can be attached to the water supplies by a rubber hose. Polyethylene baskets and jars can be used to soak and rinse pipets in a chromic acid cleaning solution. Electrically heated metallic pipet driers are also an option.
After drying, place chemical pipets in a dust-free drawer. Wrap serologic and bacteriologic pipets in paper, put them in pipet cans, and sterilize them in a dry air sterilizer at 180°C for 2 hours.
Pipets used for transferring infectious material should have a plug of cotton placed in the top end before sterilizing. This cotton plug will prevent the material from being accidentally drawn into the pipetting device.
The Lab Depot offers a complete line of sterile, ready-to-use, disposable glass and plastic pipets to eliminate the need for cleaning and sterilizing.
Burets
Before washing, remove the stopcock or rubber tip and wash the buret with detergent and water. Wash the stopcock or rubber tip separately. Rinse with tap water until all the debris is removed, then rinse with distilled water and dry.
Before placing a glass stopcock in the buret, apply a small amount of stopcock lubricant to the joint. Remember to cover your burets when not in use.
Culture Tubes
Culture tubes that have been previously used must be sterilized before cleaning. The best general method for sterilization cultures is autoclaving for 30 minutes at 121°C (15 lb. pressure).
Any media that solidifies on cooling should be poured while the tubes are hot. After emptying the tubes, brush them with detergent and water. Then, rinse thoroughly with tap water, followed by another rinse with distilled water. Place in a basket to dry appropriately.
When sterilizing a medium in a tube, wait to plug the autoclave until the medium has been added. This allows the medium and the tube to be sterilized simultaneously in a single autoclaving cycle.
If the tubes are to be filled with a sterile medium, plug and sterilize the tubes in the autoclave or dry air sterilizer before adding the medium. Corning also offers a variety of disposable glass and plastic culture tubes to eliminate the need for cleaning.
Slides and Cover Glass
To ensure accurate results, microscope slides and cover glass used for preparing blood films or bacteriologic smears must be perfectly clean and free of scratches. Follow these guidelines to ensure the cleanliest results:
Step 1: Wash the slides with appropriate cleaning solutions.
Step 2: Submerge the clean slides in glacial acetic acid for 10 minutes.
Step 3: After the acid treatment, rinse the slides thoroughly with distilled water.
Step 4: Dry the slides by wiping them with clean paper towels or a cloth.
Step 5: Once rinsed and dried, store the slides in a wide jar covered with alcohol.
Step 6: Before use, remove the slides from the jar, wash them with alcohol, and wipe them dry.
Rinsing, Drying, and Storing Glassware
To dry test tubes, culture tubes, flasks, and other glassware, hang them on wooden pegs or place them in baskets with their mouths downward to air dry. Alternatively, dry them in an oven, ensuring the temperature does not exceed 140°C. For glassware used in volumetric measurements, dry at no more than 80°C to 90°C, avoiding direct heat.
Before placing glassware in a basket, cover the bottom with a clean, folded towel or cloth to keep the mouths of tubes clean. Burets, pipets, and cylinders should be dried by standing them on a folded towel.
Clean glassware can be protected from dust by plugging it with cotton, corking it, taping a piece of paper over the mouth, or storing it in a dust-free cabinet. When storing, use specially designed racks and ensure that glassware pieces do not touch each other to prevent damage. Avoid placing glassware near the front edge of shelves.
Practice care rinsing or washing pipets, cylinders, or burets to avoid contact between the tips and the sink or water tap, as most breakage occurs this way.
If you need assistance finding the best glassware, cleaning solutions, or other supplies, contact our expert sales team at 1-800-733-2522, [email protected], or message us via Live Chat, available on our website.
Related Products
-
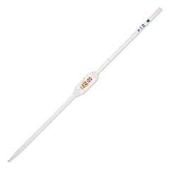
![Class A, Pipet Volumetric, Color Coded]() Class A, Pipet Volumetric, Color Coded
Class A, Pipet Volumetric, Color CodedStarting at from $52.16 Sale $47.98
-
![Alconox® Powdered Precision Cleaner]()
-
![Citranox® Acid Cleaner and Detergents]()
-
![Class B, Volumetric Pipettes, Color Coded]()
-
![Hydrochloric Acid, 1.0N (1.0M)]()
-
![Titrette® Bottle-Top Burettes]()
-
![General Purpose Non-Graduated Transfer Pipets]()
-
![Natural Rubber Stopper Assortments, #000 - #8]()
-
![MICROFLEX® Cobalt® N19 Nitrile Exam Gloves]()
-
![Burkle Automatic Titrating Burettes]()
-
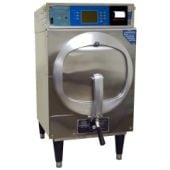
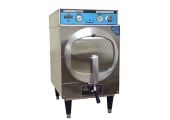
![STM-ED Sterilmatic® Steam Sterilizers]()
-
![Market Forge STM-E Sterilmatic Digital Autoclaves | 85L Capacity]() STM-E Sterilmatic® Digital Sterilizer Autoclaves
STM-E Sterilmatic® Digital Sterilizer AutoclavesStarting at $19,771.82
-
![MICROFLEX® Onyx® N64 Nitrile Exam Gloves]()
-
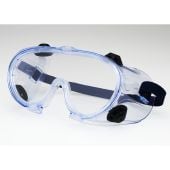
![Vinyl and Polycarbonate Safety Goggles]()
-
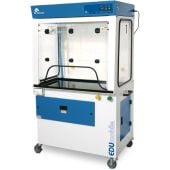
![EDU™ Mobile Series Ductless Demonstration Fume Hoods]() EDU™ Mobile Series Ductless Demonstration Fume Hoods
EDU™ Mobile Series Ductless Demonstration Fume HoodsStarting at $4,822.30
-
![Purair® Basic XT Ductless Fume Hoods]()
-
![Clear Safety Goggles (ANSI Z87.1-2020) for Splash & Impact Protection]()
-
![Nitric Acid, 1.0N (1.0M)]()