

8 Essential Safety Precautions When Using Autoclaves
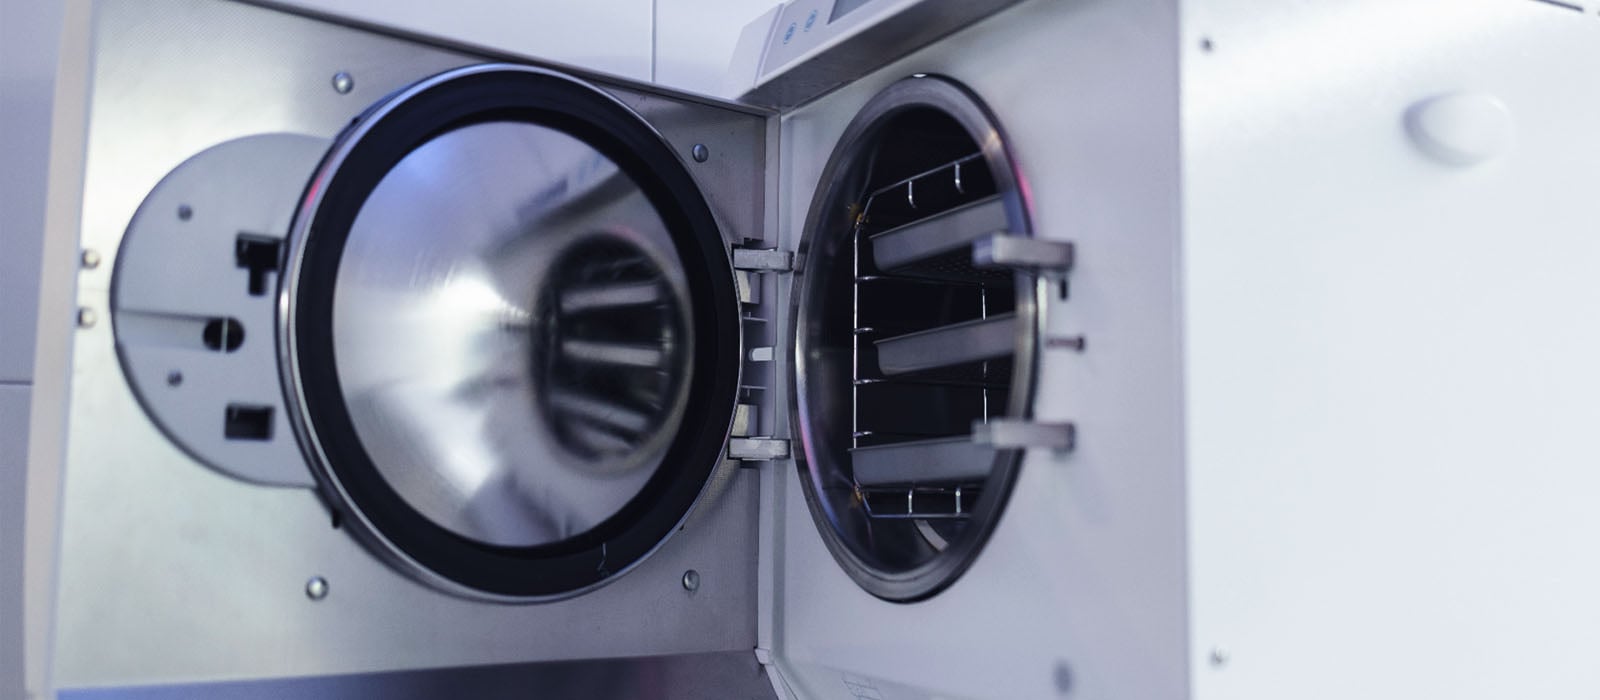
Working with autoclaves? Learn key safety precautions to keep your lab safe, from selecting proper glassware and PPE to safe door opening protocols.
An autoclave sterilizes with pressurized steam, usually at 121°C (250°F) and about 15 psi. This much heat and pressure makes it effective for sterilization but costly if you make even a small mistake. Inappropriate protective gear can cause serious injury, while incorrect containers can explode inside the autoclave.
To reduce these risks and get consistent results, use high-quality equipment. The Lab Depot provides trusted autoclaves, such as 8 L to 28 L BioClave™ Research Autoclaves from Benchmark Scientific and 32 L to 47 L SN Series Standard Autoclaves & Steam Sterilizers from Yamato Scientific America. However, even the best equipment needs to be handled correctly to remain safe and effective.
What Are the Safety Precautions When Operating an Autoclave?
The main safety precautions when operating an autoclave are: wear the right personal protective equipment, inspect the unit before use, load it so steam can circulate, use autoclave-safe containers, prepare waste bags correctly, verify the cycle, open the door slowly, and let items cool before handling them. Together, these steps protect you from steam burns, pressure-related failures, and exposure to material that was never properly sterilized.
#1 Wear Proper PPE.
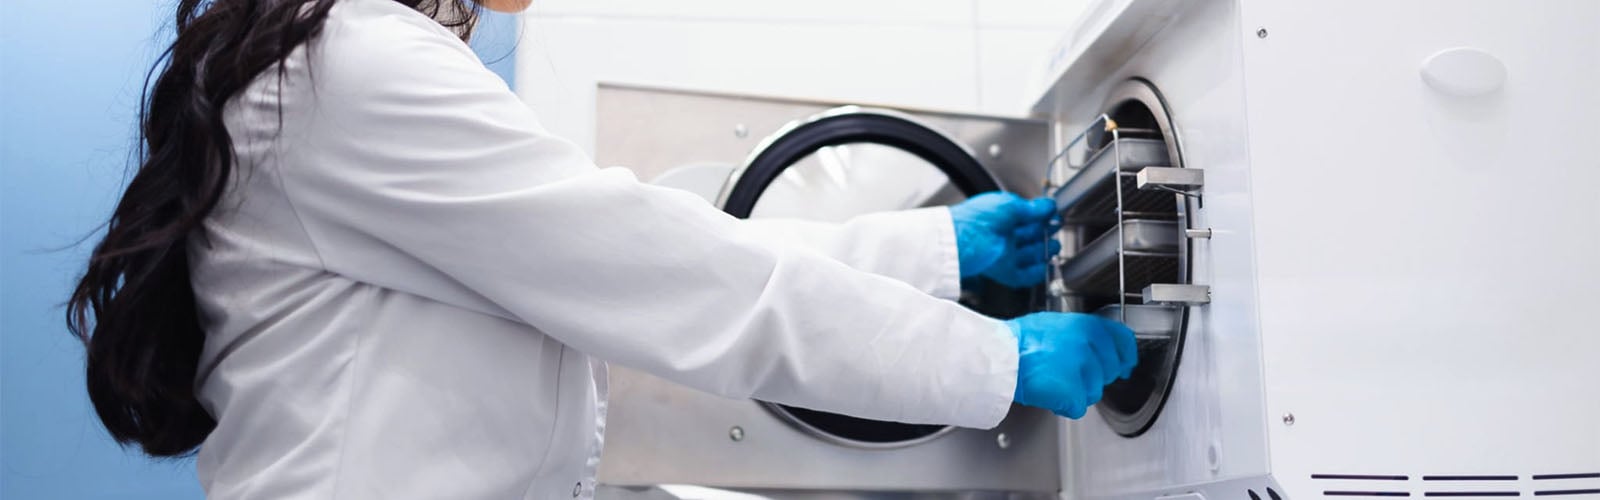
Heat-resistant gloves, safety glasses or goggles, a lab coat, and closed-toe shoes are required when working with autoclaves. If handling liquids, a face shield and a waterproof apron must also be worn.
Steam and hot glass are the two things most likely to hurt you when using autoclaves, so your PPE should be designed around such hazards. Keep in mind that if a glove is wet inside, steam can reach your skin. When your gloves are cracked, thin, or soaked through, replace them right away.
-
The Lab Depot offers MTC Bio™ HotGuard Autoclave Safety Gloves designed to withstand heat up to 260°C.
-
The Lab Depot supplies Unisex White Lab Coats from United Scientific, available in sizes S to XXXL.
-
The Lab Depot carries ANSI Standard Z87.1-compliant Vinyl and Polycarbonate Safety Goggles from Bel-Art Products.
-
The Lab Depot provides United Scientific’s Chemical-Resistant Vinyl Aprons in S, M, L, and XXL.
#2 Conduct Pre-Operation Inspection.
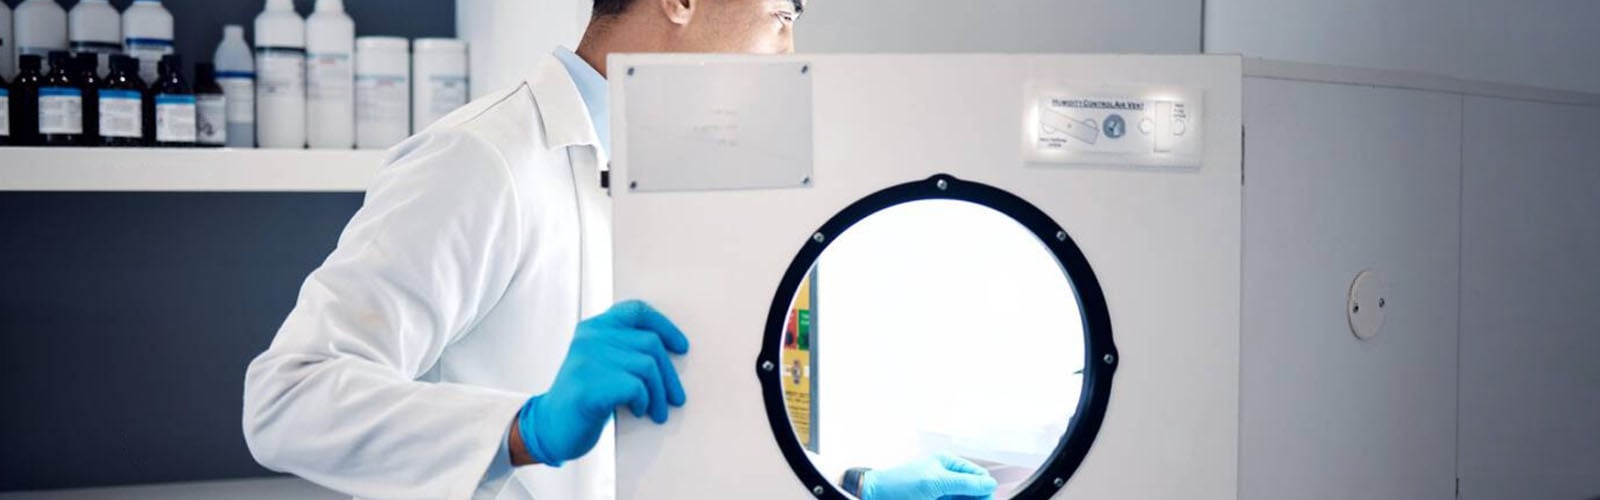
Check the door gasket and chamber drain before each run. Also inspect the pressure gauge, water level (if your unit needs manual filling), and maintenance log.
Do not use an autoclave that is tagged out of service or has a visible fault. Two minutes of checking prevents most equipment-related incidents.
Inspection Checklist
-
Ensure you are trained and authorized to use this unit.
-
Look for an "out of order" tag or a recent fault note in the log.
-
Examine the door gasket for cracks, tears, or debris.
-
Check that the door latches and locks properly.
-
Look inside the chamber and clear the drain strainer of paper, plastic, or broken glass.
-
Confirm the chamber is empty of items left by the previous user.
-
Read the pressure and temperature gauges. They should show zero pressure and a safe temperature.
-
Fill the water reservoir to the required level if your model is not plumbed in.
-
Check that the preventive maintenance and inspection stickers are up to date.
Safety Note: If any component appears damaged, halt operation immediately and report it. Never attempt to repair a pressurized vessel yourself.
#3 Load Items Properly.
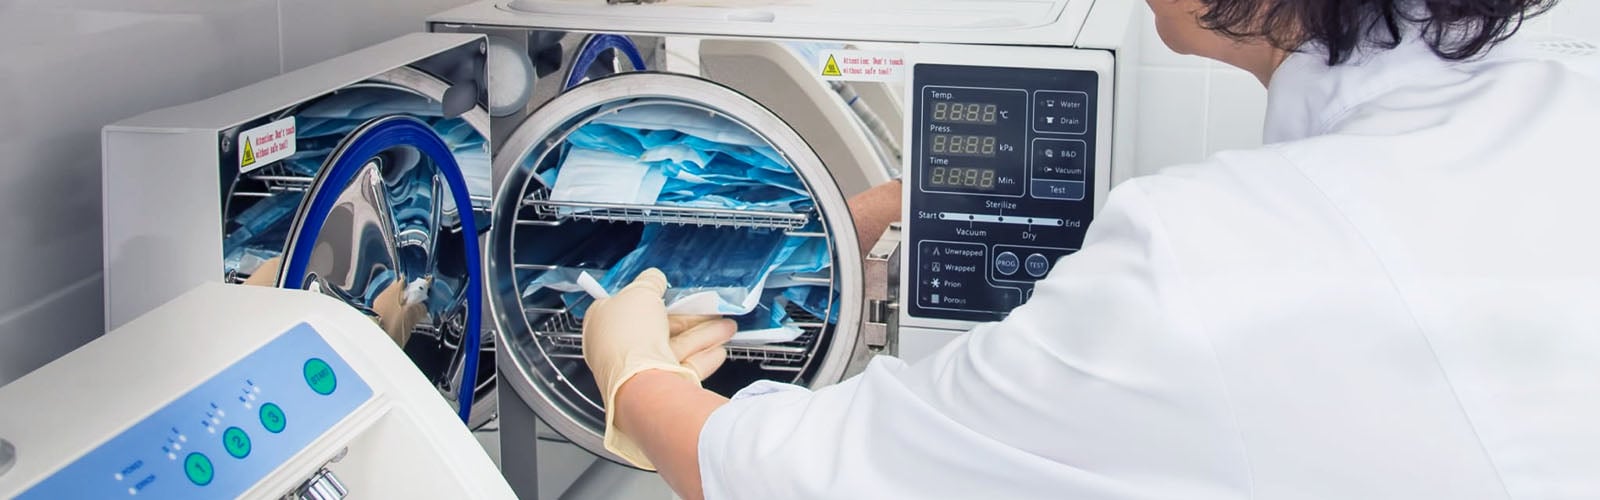
Prepare a load by leaving space between items so steam can circulate, keeping containers unsealed, using a secondary tray to catch spills, and excluding any material that is flammable, corrosive, reactive, or radioactive. Steam has to touch every surface to sterilize it, but packing a chamber creates cold spots.
Do’s
-
Place all items inside a shallow, solid-bottomed, autoclave-safe tray with sides high enough to catch spills.
-
Leave gaps between containers and chamber walls.
-
Load heavier items on lower racks to maintain stability.
-
Group similar materials together in the same cycle (liquids with liquids, dry goods with dry goods).
Don’ts
-
Overfill the chamber or stack biohazard bags on top of one another.
-
Autoclave sealed or tightly capped containers.
-
Autoclave solvents, bleach (sodium hypochlorite), phenol, or corrosive materials (bleach corrodes stainless steel and releases toxic chlorine gas).
-
Include radioactive material or anything that releases toxic vapors when heated.
-
Allow items to touch chamber walls, door seals, or heating elements.
-
Don’t place hot glass directly on cold stone countertops can shatter due to thermal shock, always place hot glass on insulated pads, silicone mats, or secondary trays.
#4 Use the Correct Container.
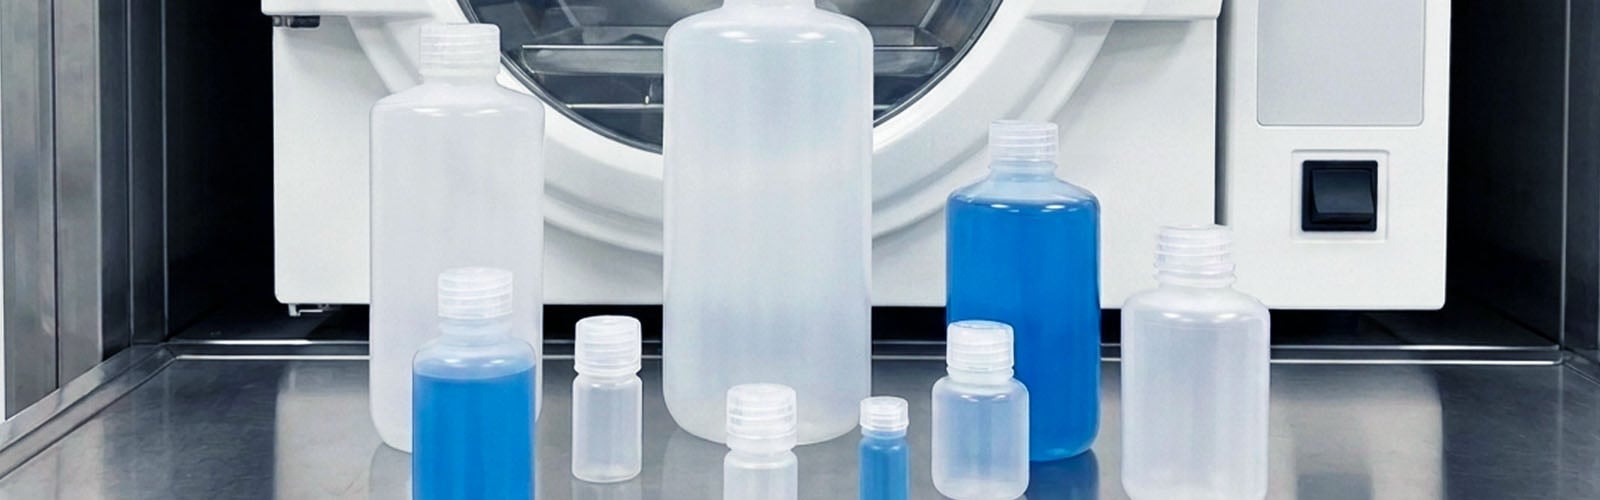
Use borosilicate glass or plastics labeled autoclavable, such as polypropylene. Avoid polystyrene, PVC, and any container without a clear autoclave rating, because they can melt, warp, or release fumes.
| Material | Autoclave Safe? | Notes |
|---|---|---|
| Borosilicate Glass | Yes | Check for chips and cracks first. Damaged glass can shatter. |
| Polypropylene (PP) | Yes | Common for bins, trays, and bottles. Can soften at maximum heat; provide tray support. |
| Polycarbonate (PC) | Limited | Repeated cycles cause clouding and embrittlement. Inspect frequently. |
| Polystyrene (PS) | No | Melts completely at standard cycle temperatures. |
| PVC | No | Melts and releases harmful, corrosive fumes. |
| Standard Polyethylene (PE) | Usually No | Deforms under standard pressure unless explicitly rated. |
| Metal (Stainless Steel) | Yes | Ideal for tools and pans. Always handle with thermal gloves. |
For Liquid Containers
-
Fill to no more than about 50% to 75% of capacity, depending on your SOP, so liquid has room to expand.
-
Loosen caps or use vented closures. A sealed bottle can burst.
-
Never use a container that is cracked, starred, or heavily scratched.
If you are not sure about a plastic container, assume it is not safe until the manufacturer says it is. The Lab Depot offers Nalgene™ PPCO Autoclavable Narrow Mouth Bottles from Thermo Scientific, available in 4 mL to 1 L.
#5 Prepare Autoclave Bags.
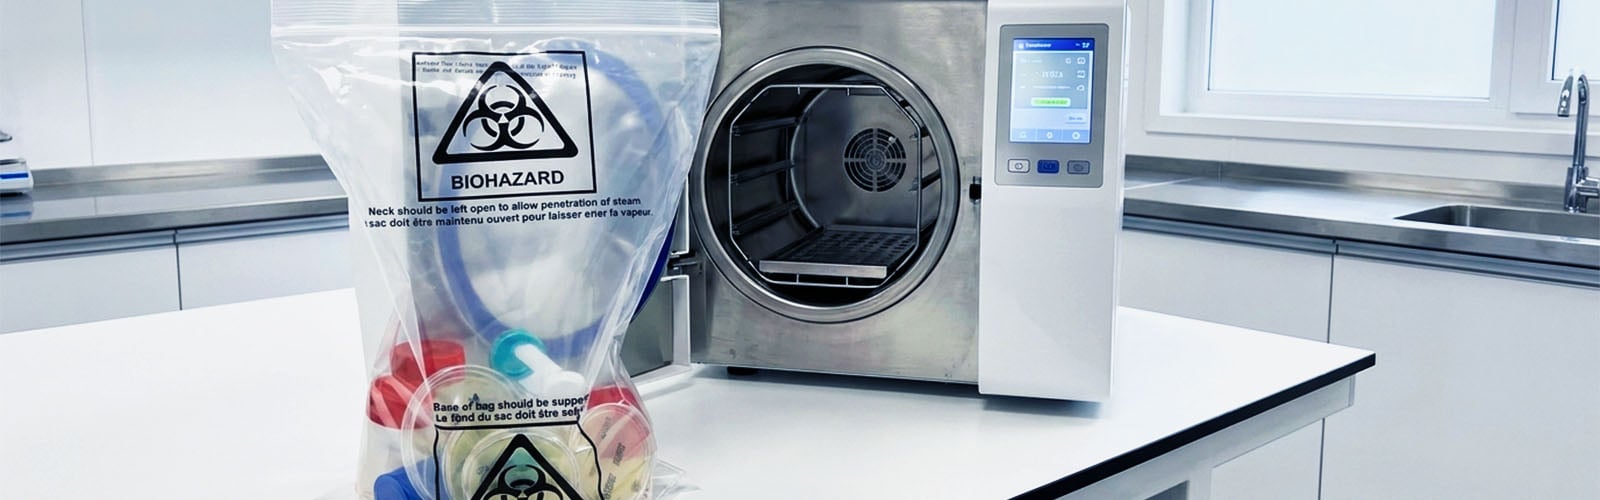
Use bags made for autoclaving, close them loosely so steam can get in, add a small amount of water to dry waste, and set each bag in a secondary container. Never seal a bag airtight.
A sealed bag traps air, and trapped air blocks steam. The outside of the bag can reach temperature while the contents stay contaminated.
Bag Preparation Steps
-
Choose a bag marked autoclavable. Regular trash bags and many standard biohazard bags are not suitable.
-
Do not fill the bag more than about two-thirds.
-
For dry waste, add about 250 mL of water to help generate steam inside.
-
Twist the neck and tie it loosely, or fold it over, leaving an opening for steam.
-
Attach a chemical indicator, such as autoclave tape, to the bag.
-
Place the bag upright in a tray that can hold the contents if the bag leaks or splits.
-
Keep sharps out of soft bags. Use rigid, autoclavable sharps containers.
The Lab Depot carries Gosselin™ Biohazard Autoclavable Bags from Corning Life Sciences, available in 3 L to 33 L.
#6 Perform Cycle Verification.
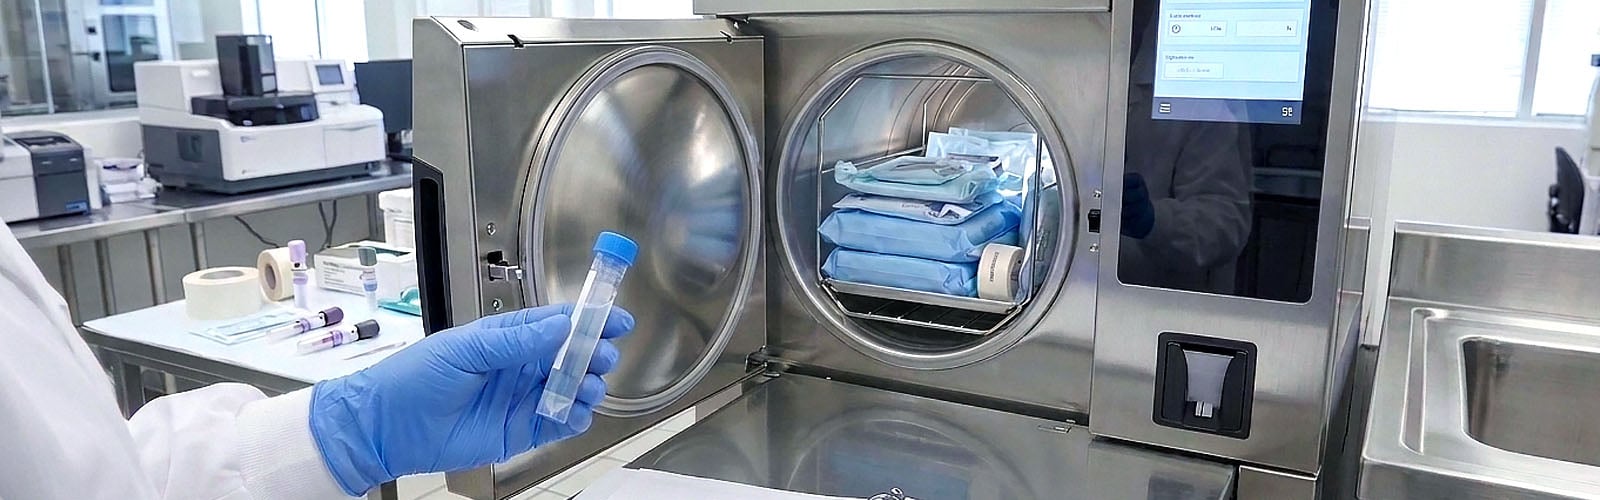
Verify a cycle by choosing the right program for the load, confirming the unit reaches the required temperature and time (commonly 121°C for at least 30 minutes), using sterilization indicators, and recording the run in the log.
| Load Type | Typical Cycle | Why It Matters |
|---|---|---|
| Dry goods and glassware | Gravity or prevacuum | Steam must displace air fully |
| Liquids | Slow exhaust (liquid) cycle | Fast venting makes liquids boil over |
| Biohazard waste | Longer hold time | Dense loads heat slowly |
| Wrapped instruments | Prevacuum | Removes air from packs |
What You Should Check
-
Settings: Double-check the temperature, time, and exhaust type before pressing start.
-
Chemical Indicators: Autoclave tape or strips show the item was exposed to heat. They do not prove sterility on their own.
-
Biological Indicators: Spore tests confirm the unit can kill resistant organisms. Many facilities run them on a regular schedule, such as weekly or monthly.
-
Printout or Display: Compare the recorded temperature and time to your SOP.
-
Logbook: Record date, user, load description, cycle, and results.
If the cycle aborts or the readings are off, treat the load as non-sterile. Do not run it again without checking why it failed.
#7 Never Open the Door During Cycles.
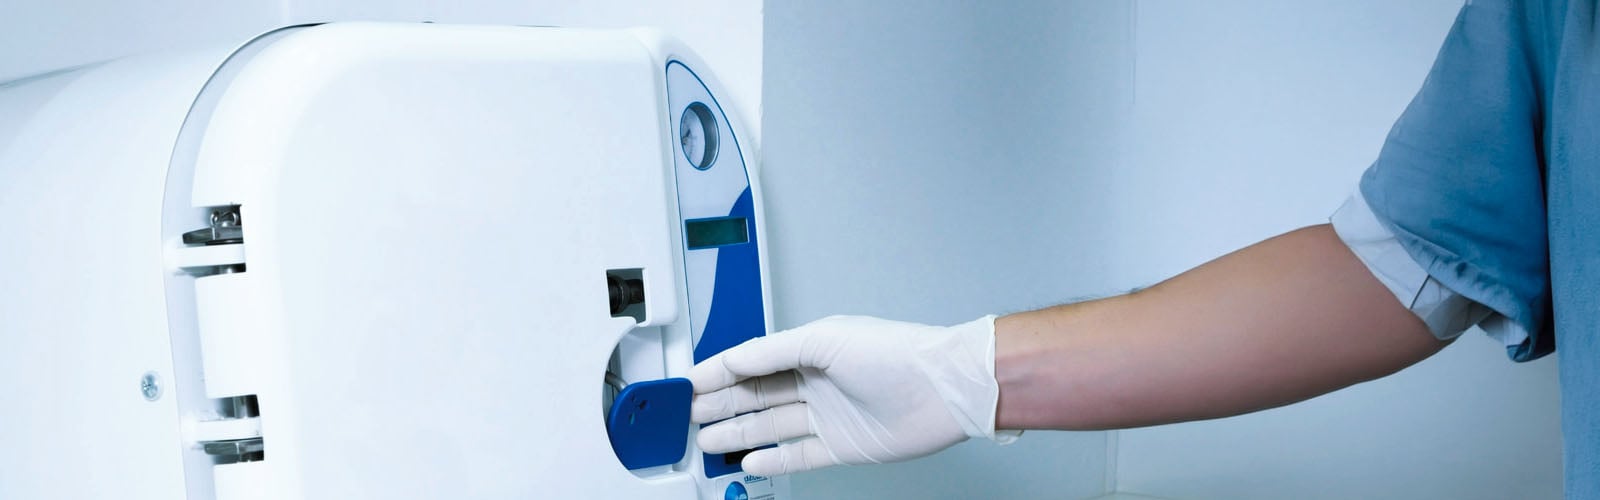
Open the autoclave door only when the pressure gauge reads zero and the cycle has finished. To avoid steam burns, follow these steps:
-
Check the display. The cycle should say complete, and the pressure should be zero.
-
Put on your gloves, eye protection, and face shield.
-
Unlatch the door and open it only a few centimeters. Keep the door between your body and the chamber.
-
Stand to the side so rising steam does not reach your face or arms.
-
Wait a minute or more to allow steam to escape.
-
For liquid loads, wait about 10 minutes with the door slightly ajar before removing anything.
-
Open the door fully only when the steam has cleared.
Never try to force a door that will not open. A stuck door can mean the chamber is still pressurized.
#8 Handle Removed Items Carefully.
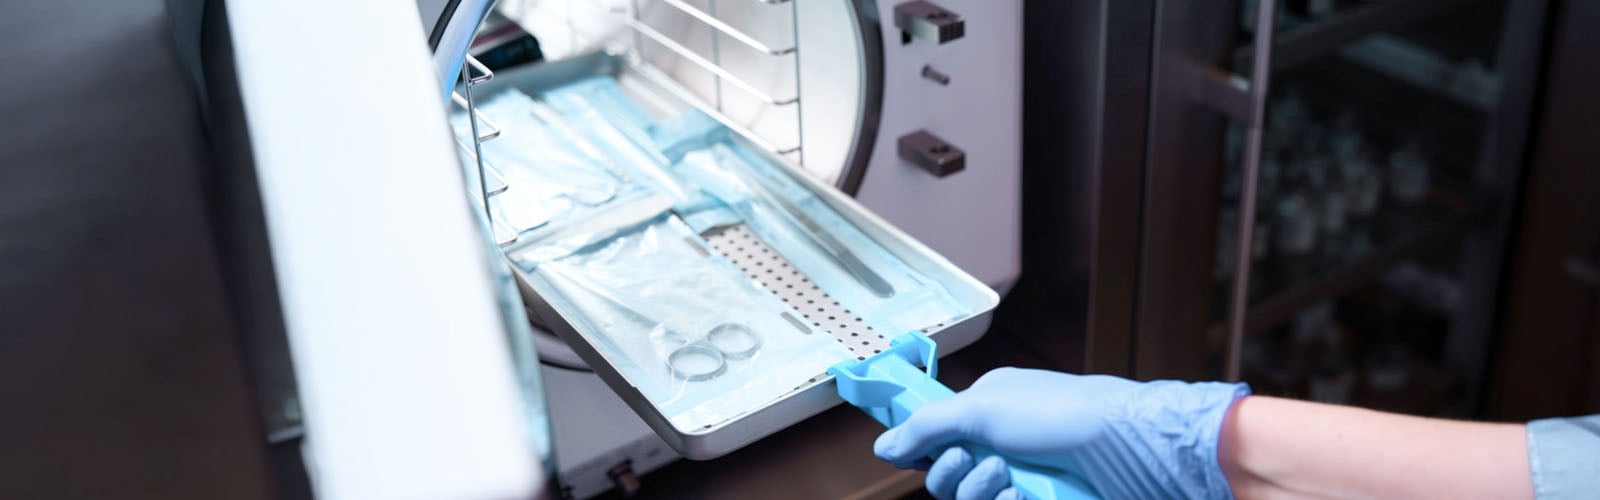
After removal, let items cool before moving them. Treat hot liquids as superheated, as liquids can stay hotter than their boiling point and erupt if you jostle them. Take note of these handling rules to prevent accidents:
-
Use a cart or a tray when moving items. Do not carry hot flasks in your bare hands.
-
Let liquids cool undisturbed. Do not swirl, shake, or tighten caps while hot.
-
Check that the indicator tape has changed color as expected.
-
Treat any load that failed an indicator as contaminated.
-
Allow treated waste to cool before it goes into the disposal stream, then follow your facility’s rules for labeling and pickup.
-
Wipe up any spills right away, wearing your PPE.
-
Close out the log entry and report any problem.
Common Hazards and How to Prevent Them
| Hazard | What Causes It | How to Prevent It |
|---|---|---|
| Steam Burns |
|
|
| Contact Burns |
|
|
| Boil-Over |
|
|
| Burst Containers |
|
|
| Incomplete Sterilization |
|
|
| Toxic or flammable release |
|
|
| Glass breakage |
|
|
Frequently Asked Questions
Is it safe to open an autoclave right after the cycle ends?
Not immediately. Wait until the pressure reads zero, then open the door slowly and let steam escape. Liquids need extra time because they stay superheated.
What should you never put in an autoclave?
Flammable solvents, bleach and other corrosive chemicals, radioactive material, polystyrene, PVC, sealed containers, and anything else that is not rated for steam sterilization.
What temperature and pressure does an autoclave use?
Standard cycles usually run at 121°C and around 15 psi. Higher temperatures are sometimes used for shorter times.
Do autoclave indicators prove sterilization?
Chemical indicators show the item reached heat exposure. Biological indicators are the stronger proof, since they test whether the cycle can kill resistant spores.
What PPE is required for operating an autoclave?
Heat-resistant gloves, eye protection, a lab coat, and closed-toe shoes at minimum. Add a face shield and apron for liquid loads.
Can anyone use an autoclave?
No. Only people trained on that specific unit and your facility’s procedures should operate it.
Here at The Lab Depot, you will find various autoclaves and steam sterilizers from reliable manufacturers. Contact our expert team by phone at 1-800-733-2522, by email, or through live chat on our website for assistance.